Mount Tutorial
HEEL HOLE TEMPLATE DOWNLOAD
What you will need:
- Look Pivot
- Jig
- Drill
- 3.5mm or 4.1mm x 9.5mm Drill Bit
- #3 Posidrive Screwdriver
- Wood Glue
- Hammer and Punch

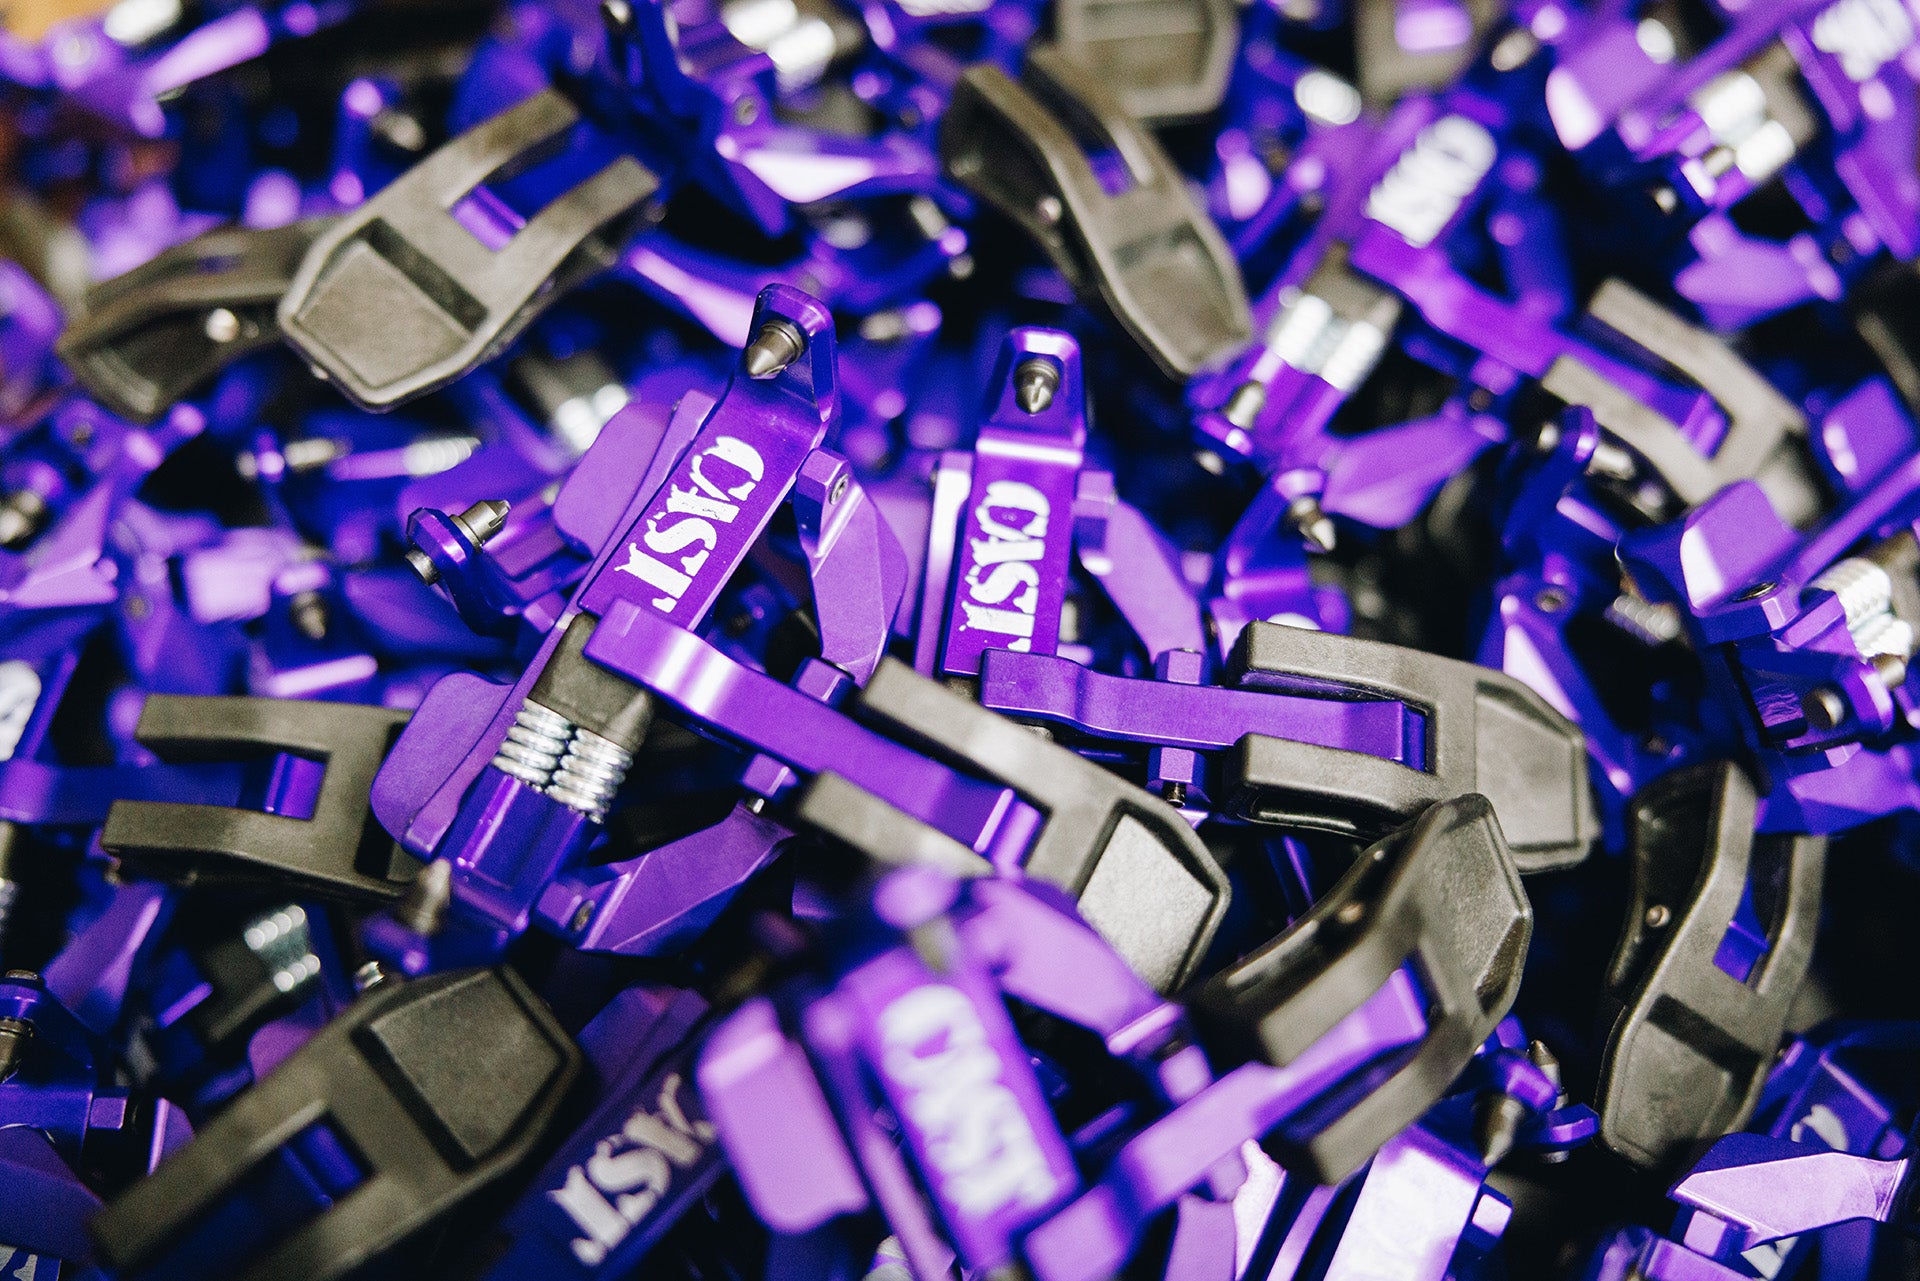
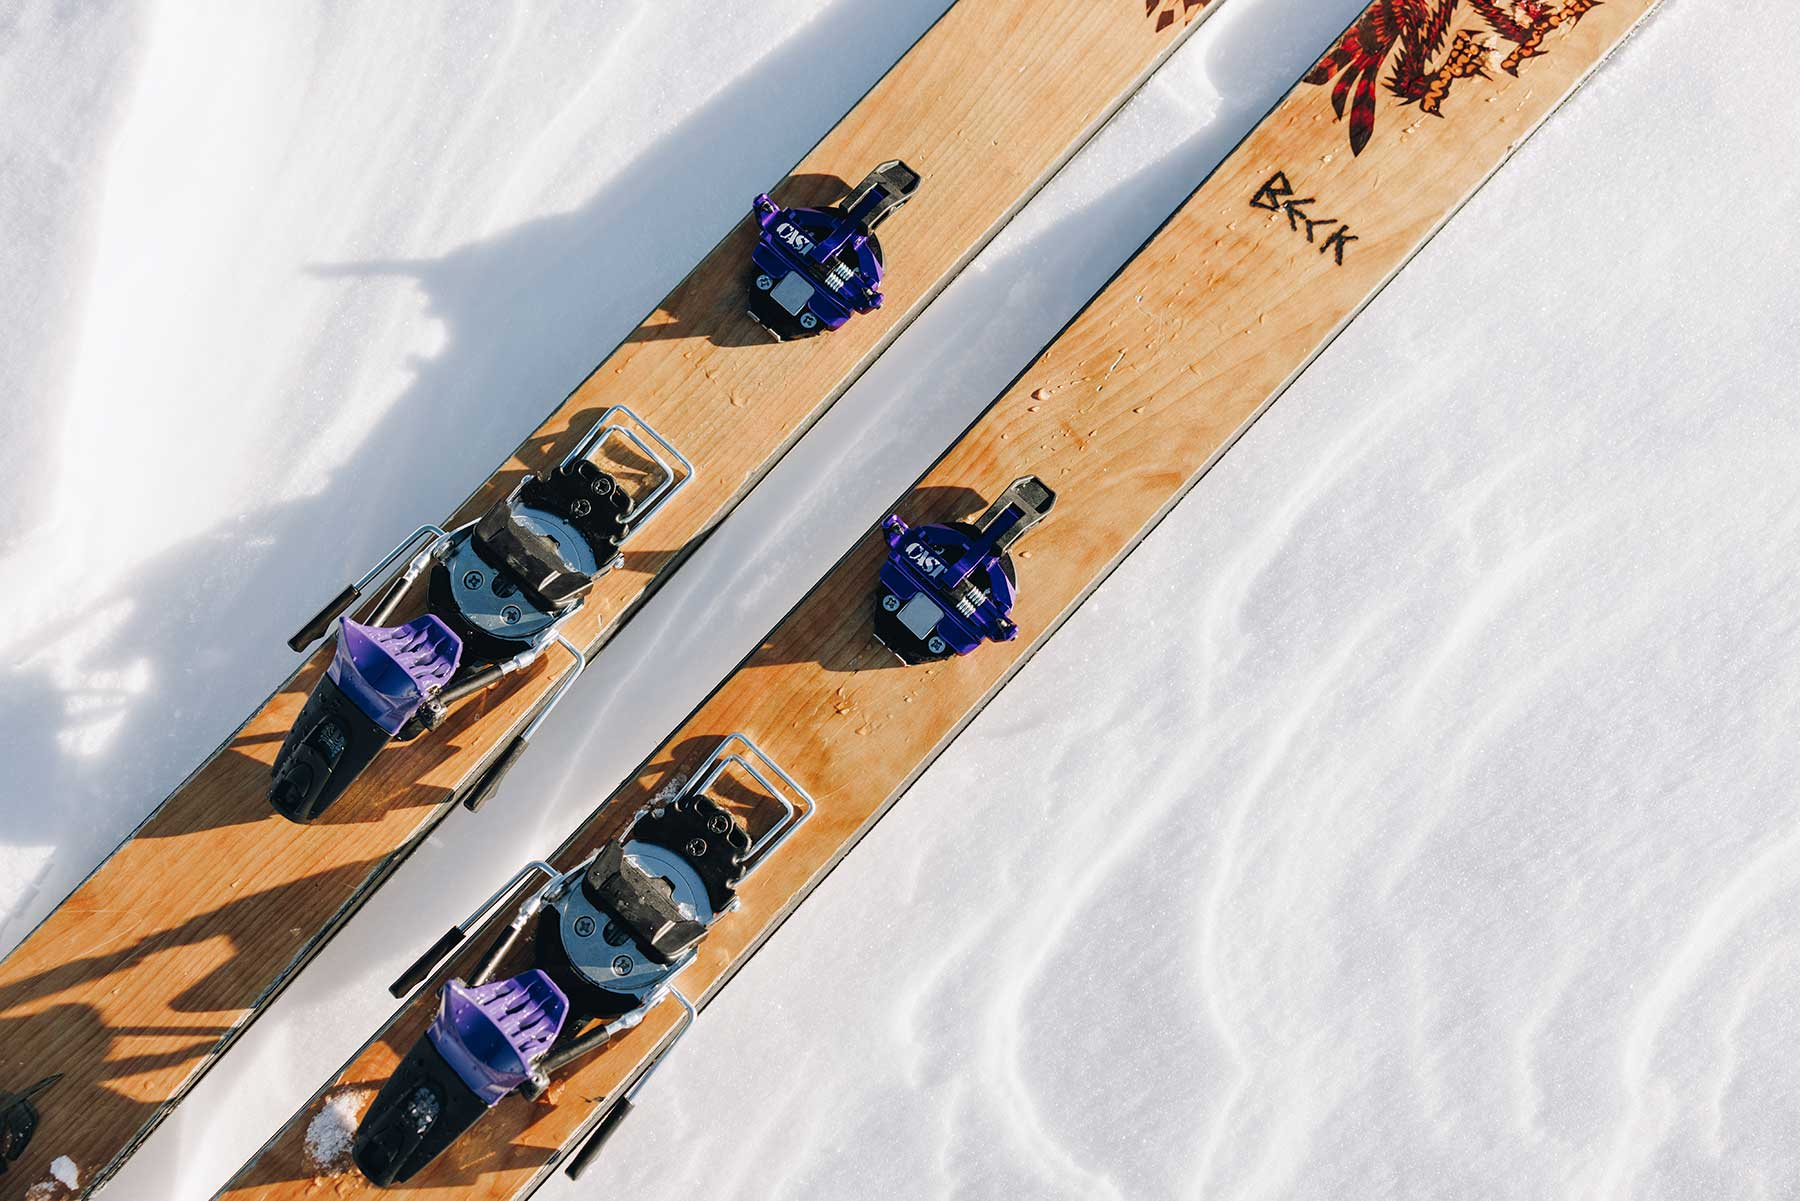
Here are the Freetour Upgrade Kit components with the Cast pedestal installed on the Look Pivot toe piece.

STEP 1. Drill holes for the Look Pivot using a Look Mounting Jig and the recommended drill bit for your skis. If you have the Cast Jig Attachment, drill those holes too and skip to step 5.

STEP 2. Remove the sticker backing and place the provided Cast heel hole template so the marked Look heel holes line up with the ones you drilled in step 1.

STEP 3. Use a sharp punch to mark the two climbing bail holes located forward of the heel unit.

STEP 4. Remove the template and drill the two marked holes keeping the drill as perpendicular to the ski as possible.

STEP 5. Using wood glue in the holes, mount the heel unit of the Pivot as usual with the provided Look screws.

STEP 6. Place the climbing bails in their grooves in the black plastic Cast heel block. Start to fasten the heel block with the two provided M5.5 x 19.5mm cap head binding screws leaving the screws slightly loose.

STEP 7. With the screws slightly loose, engage the brake lock. Then fully tighten the screws with the brake lock still engaged. You may have to hold the heel block down with one hand and finish screwing the two heel screws with the other hand. This helps to fully align the brake lock with the heel piece. Check the heel block to make sure the brake lock clips around the brakes and releases fine by pulling both brake levers up and in.

STEP 8. Mount the Cast toe base plate with the four provided M5.5 x 13mm flathead binding screws. Make sure that the topsheet of the ski is flat and the base plate is pulled flush to the ski. Make sure the lock button depresses and returns.

STEP 9. Test both the alpine and tech toes to make sure they fully slide into place and the lock button returns to the fully up position. Repeat for the other ski.


